Recently, I already wrote about PixelShader effects, introduced in .NET framework 3.5 SP1 (WPF). However it looks like for most people this syntax is still hard to understand. Today we’ll try to lean it more. In order to do this, I wrote small program, that helps you to write and debug pixel shader effects quickly. This how it looks like
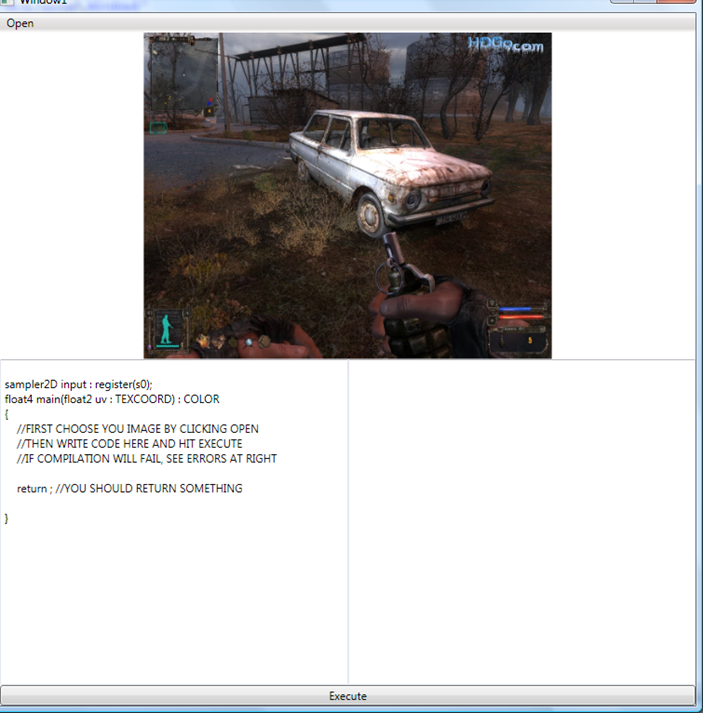
Hit Open to load image, Write your code and hit Execute to compile and apply bitmap dx effect to the image. Let’s start from very beginning. Effect, that does nothing:
sampler2D input : register(s0);
float4 main(float2 uv : TEXCOORD) : COLOR
{
float4 Color;
Color = tex2D( input , uv.xy);
return Color;
}
This is the results:
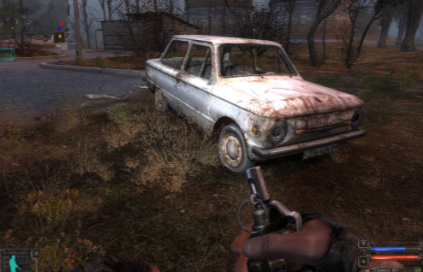
What was done? We got pixel. Read it color and return it as it to the shader. Let’s do something more interesting.
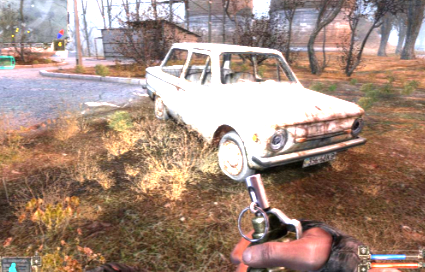
Actually we can get float2 as coordinate, this means, that it can be spitted to uv.x and uv.y. Also color is float4 (argb), thus we can change color. Let’s multiply color by 3
Color = tex2D( input , uv.xy)*3;
And the result is bright image
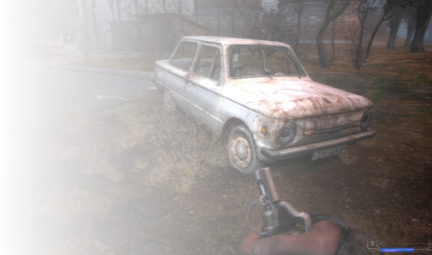
We also can make operations with variables.
Color = tex2D( input , uv.xy)*uv.x;
Result
We not have to change whole color. We can also change only its part. Blue for example
Color = tex2D( input , uv.xy);
Color.b = Color.b*2;
Result
Or execute math operations
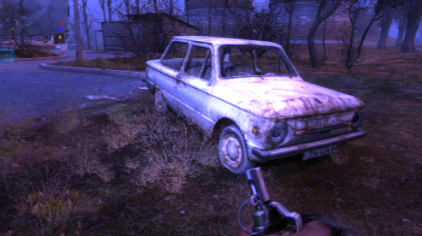
Color = tex2D( input , uv.xy);
Color.r = Color.r*sin(uv.x*100)*2;
Color.g = Color.g*cos(uv.x*150)*2;
Color.b = Color.b*sin(uv.x*50)*2;
Result
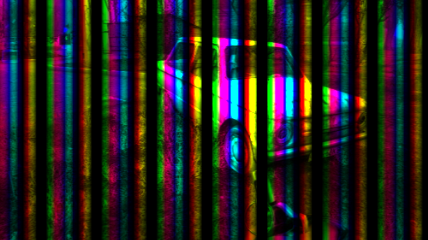
Color is not only thing we can operate. Actually we’re sampling coordinates, so operations done with coordinates should work. Let’s try to stretch image
uv.x = uv.x * 0.5;
Color = tex2D( input , uv.xy);
Result
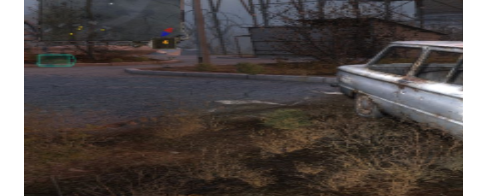
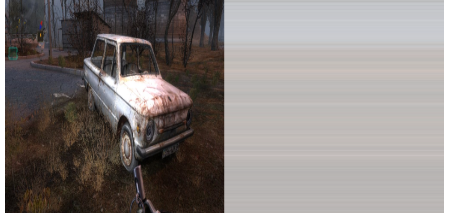
Why 0.5? Should not it make it smaller? Actually not, you’re multiplying coordinates, so to make the image smaller, you should divide
uv.x = uv.x / 0.5;
Color = tex2D( input , uv.xy);
Result
Some math could be fun here also
uv.y = uv.y + (sin(uv.y*100)*0.03);
Color = tex2D( input , uv.xy);
Result
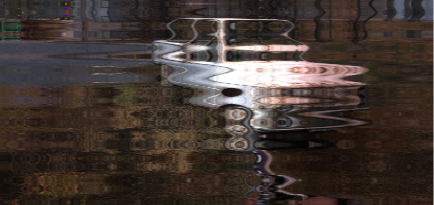
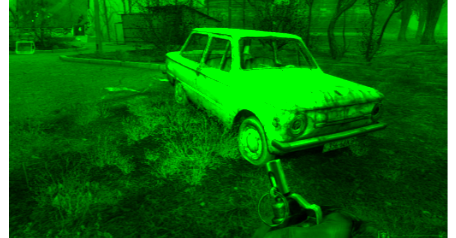
There are a ton of interesting effects you can do by using pixel shaders. Here for example color shift
Color = tex2D( input , uv);
Color.r -= tex2D( input , uv +(somevar/100)).r;
Color.g += tex2D( input , uv+ (somevar/200)).g;
Color.b -= tex2D( input , uv+ (somevar/300)).b;
Result:
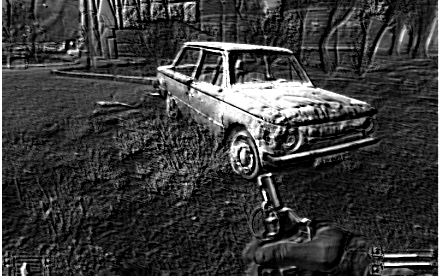
Or, even cooler efects
Color -= tex2D(input , uv.xy-0.003)*2.7f;
Color += tex2D( input , uv.xy+0.003)*2.7f;
Color.rgb = (Color.r+Color.g+Color.b)/3.0f;
Result
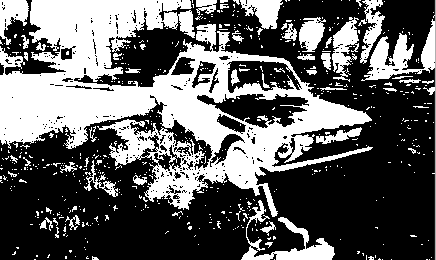
You can also use cases and ifs for even cooler effects
Color.rgb = (Color.r+Color.g+Color.b)/3.0f;
if (Color.r<0.2 || Color.r>0.9) Color.r = 0; else Color.r = 1.0f;
if (Color.g<0.2 || Color.g>0.9) Color.g = 0; else Color.g = 1.0f;
if (Color.b<0.2 || Color.b>0.9) Color.b = 0; else Color.b = 1.0f;
Result
Other words, the sky is the limit.
Please note, that Pixel Shaders done in GPU only, thus it is the most efficient method to manipulate your images. Actually, you can apply effect to any UIElement, thus the sky is really the limit.
Have a nice day and be good people. Download code for this article. Notice, that you’ll need DirectX SDK to compile pixel shader files and use this program
6 comments:
Great post to simplify shaders for beginners. However I have a comment:
You say:
"Why 0.5? Should not it make it smaller? Actually not, you’re multiplying coordinates..."
I think it should be clear that multiply is not correct because the coordinates are expressed in values of 0 to 1, right?
Many people thinking of graphics coordinates like x = 500, might still think it would be correct to multiply.
In other words, I think it would be helpful to explain the minimum and maximum values for coordinates.
Thank you,
ECG
This seems to interpret the whole screen as the texture that it gives your pixel shader, but when I've tried it, it processes individual textures of the scene, what is different? Is the scene just a picture that you are displaying?
The reason for that is the shader he is using here is the end result of the scene. He may render individual objects with their own shaders but the final output is then passed through another shader (probably for post processing). The end result shader can control the whole image whereas individual object shaders control only segments of the final output(ie individual models or billboards etc).
Wow, powerful stuff..
wow, very good post (Y)
Post a Comment